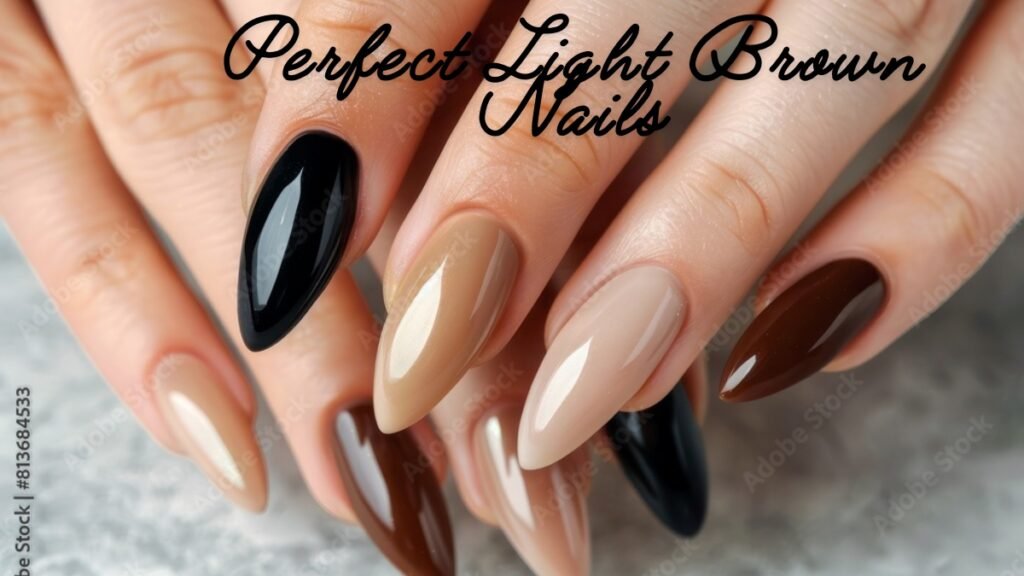
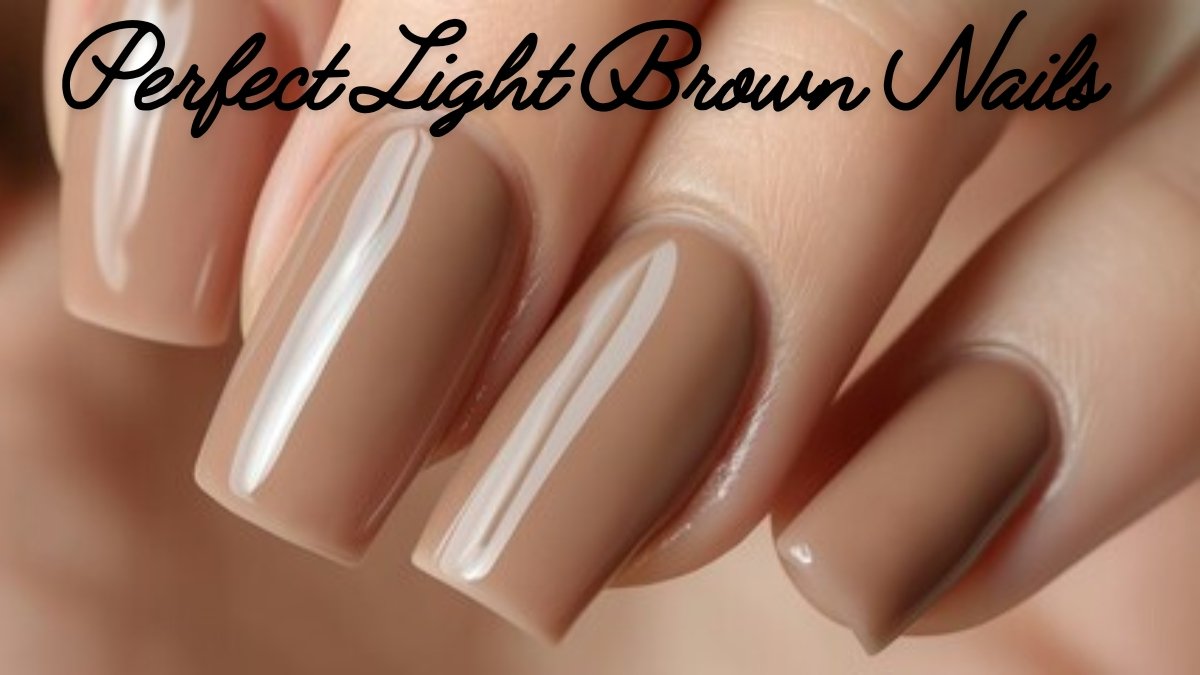
Achieving the perfect light brown nails can add a touch of elegance and warmth to your overall look. Whether you’re preparing for a special occasion or just want a subtle, sophisticated style for everyday wear, light brown is a versatile nail color that suits all skin tones. This guide will walk you through the steps to achieve flawless light brown nails, ensuring a professional finish every time.
Understanding the Appeal of Light Brown Nails
Light brown nails are a popular choice because they offer a neutral, earthy tone that complements various outfits and occasions. This shade is subtle enough for the workplace but can also be dressed up for a night out. The key to perfecting this look lies in choosing the right shade, preparing your nails properly, and applying the polish with precision.
Choosing the Right Shade of Perfect Light Brown Nails
Not all light browns are created equal. When selecting the perfect shade, consider your skin tone and personal style.
- Fair Skin Tones: Opt for soft, beige-brown hues that won’t overpower your natural coloring.
- Medium Skin Tones: Warm caramel or taupe shades work beautifully, adding a natural glow.
- Dark Skin Tones: Richer light brown shades with hints of gold or copper can create a stunning contrast.
It’s a good idea to try a few shades before settling on one that feels right for you. Most nail salons or beauty stores allow you to test colors, so take advantage of this to find your ideal match.
Prepping Your Nails for the Perfect Light Brown Color

Preparation is key to achieving a smooth and lasting manicure. Before applying any color, ensure your nails are clean, shaped, and buffed.
- Cleanse Your Nails: Remove any old polish using a non-acetone remover to avoid drying out your nails. Wash your hands thoroughly to remove oils and dirt.
- Shape Your Nails: Use a nail file to shape your nails into your preferred style, whether it’s square, round, or almond-shaped. Always file in one direction to prevent splitting.
- Buff the Nail Surface: Gently buff the surface of your nails to create a smooth base. This helps the polish adhere better and last longer.
Applying a Base Coat
A base coat is essential for any manicure, especially when working with lighter shades like light brown. The base coat serves several purposes:
- Protects Your Nails: It creates a barrier between your nails and the polish, preventing staining.
- Smooths the Surface: It fills in ridges and imperfections, providing a smooth canvas for your polish.
- Improves Adhesion: A base coat helps the polish stick better, reducing the likelihood of chipping.
Apply one thin layer of base coat and let it dry completely before moving on to the color.
Applying the Light Brown Nail Polish
Now that your nails are prepped, it’s time to apply the light brown polish. The application process is crucial for achieving an even, streak-free finish.
- First Coat: Apply the first coat of polish in three strokes—one down the center and one on each side. Be sure to cover the entire nail but avoid flooding the cuticle area.
- Second Coat: After the first coat dries, apply a second coat to deepen the color and ensure opacity. If the color still appears sheer, you can apply a third coat, but be careful not to make the layers too thick, as this can lead to smudging and longer drying times.
Using a Top Coat for a Professional Finish
A top coat is the finishing touch that seals your manicure, adds shine, and extends its lifespan.
- Seal the Color: The top coat locks in the color, preventing it from fading or chipping.
- Enhance Shine: It gives your nails a glossy finish, making them look salon-perfect.
- Smooth Out Imperfections: A top coat can smooth out any minor bumps or imperfections in your polish.
Apply a generous layer of top coat, and be sure to seal the edges of your nails by running the brush along the tips. This extra step helps prevent chipping.
Drying Your Nails Properly
Allowing your nails to dry fully is just as important as the application process itself. Rushing this step can ruin all your hard work.
- Air Dry: Let your nails air dry naturally for at least 15-20 minutes. Avoid using your hands during this time to prevent smudging.
- Quick-Dry Products: If you’re in a hurry, consider using quick-dry drops or sprays to speed up the drying process. These products can significantly reduce drying time and add a bit of extra shine.
Maintaining Your Perfect Light Brown Nails Manicure
A perfect manicure doesn’t end with the application. Proper care will keep your nails looking fresh and beautiful for days.
- Moisturize Regularly: Keep your cuticles and hands moisturized with cuticle oil and hand cream. This prevents your nails from becoming brittle and your polish from cracking.
- Avoid Harsh Chemicals: Wear gloves when doing household chores or using cleaning products. Harsh chemicals can strip the polish and damage your nails.
- Touch-Up as Needed: If you notice any chips or wear, touch up your nails with a small amount of polish and top coat to keep them looking flawless.
Experimenting with Nail Art and Finishes
Once you’ve mastered the basics of applying light brown polish, you can experiment with different finishes and nail art to enhance your look.
- Matte Finish: For a modern twist, apply a matte top coat over your light brown polish. This creates a chic, understated look that’s perfect for any occasion.
- Glitter Accents: Add a bit of sparkle by applying a glitter top coat or focusing glitter on one or two accent nails.
- Nail Art: Simple designs like stripes, dots, or geometric patterns can add a unique touch to your light brown nails without overpowering the color.
Removing Perfect Light Brown Nails
When it’s time to change your color, removing light brown polish should be done carefully to avoid damaging your nails.
- Use Non-Acetone Remover: Acetone-free removers are gentler on your nails and cuticles. Soak a cotton pad with remover and press it against your nail for a few seconds before wiping the polish away.
- Moisturize After Removal: After removing the polish, wash your hands and apply a rich hand cream and cuticle oil to restore moisture to your nails and skin.
Conclusion
Achieving the perfect light brown nails is a process that requires the right tools, techniques, and care. From choosing the ideal shade to maintaining your manicure, each step plays a vital role in ensuring your nails look polished and professional. Whether you stick to a simple, glossy finish or experiment with matte textures and nail art, light brown nails offer a versatile, timeless look that can be adapted to suit any style. With a little practice and attention to detail, you can achieve salon-quality results at home.
FAQs
- What shade of light brown is best for my skin tone?
Fair skin suits beige-brown shades, medium skin looks great with caramel or taupe, and darker skin tones shine with rich brown hues with gold or copper undertones.- How can I make my light brown nail polish last longer?
Use a base coat, apply thin layers of polish, finish with a top coat, and moisturize regularly to extend the life of your manicure.- Can I use a matte top coat with light brown polish?
Yes, a matte top coat can give your light brown nails a modern, chic look.- How often should I moisturize my nails and cuticles?
Moisturize your nails and cuticles daily to keep them healthy and prevent the polish from cracking.- What’s the best way to remove light brown nail polish?
Use a non-acetone remover to gently remove the polish, followed by moisturizing your nails and cuticles.


